Lighting Up Your World
23 Jun 2023

How to Light Your Pool for the Ultimate Summer Experience

(Originally posted on www.cast-lighting.com)

How to Light Your Pool for the Ultimate Summer Experience

The landscape lighting industry is thriving due to homeowners’ desire to create comfortable, memorable outdoor experiences. That desire quadruples when the weather improves, and homeowners crave the ultimate summertime experience in their backyard at night. This can mean different things to different people, but one typically clear focus in summer is the pool. There’s nothing quite like a leisurely late-night swim in your very own pool.

But, without outdoor lighting, that perfect dip can be a little more tricky, less enjoyable, and a little more dangerous (and not in a thrilling James Bond kind of way.) Part of the fun of diving into your pool at night is to be able to see it and enjoy its gorgeous features. But, it’s equally important to see the features, which in darkness could become obstacles or hazards. To make things simple for you as a pool owner, we’ve compiled a list of seven pool lighting ideas to consider to enhance your pool experience in the summer.

1. Moonlighting

Let’s start with one of our favorite advanced landscape lighting techniques: Moonlighting. Doesn’t it sound dreamy? Night swimming in glistening water, with that subtle and soft moonlight glow effect?
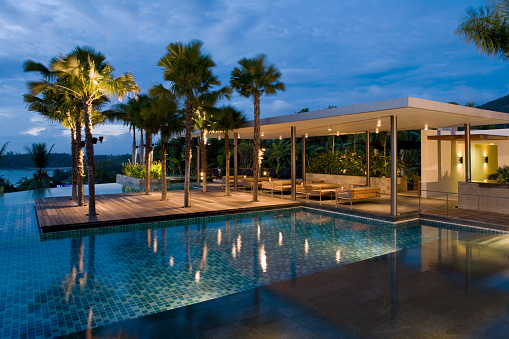
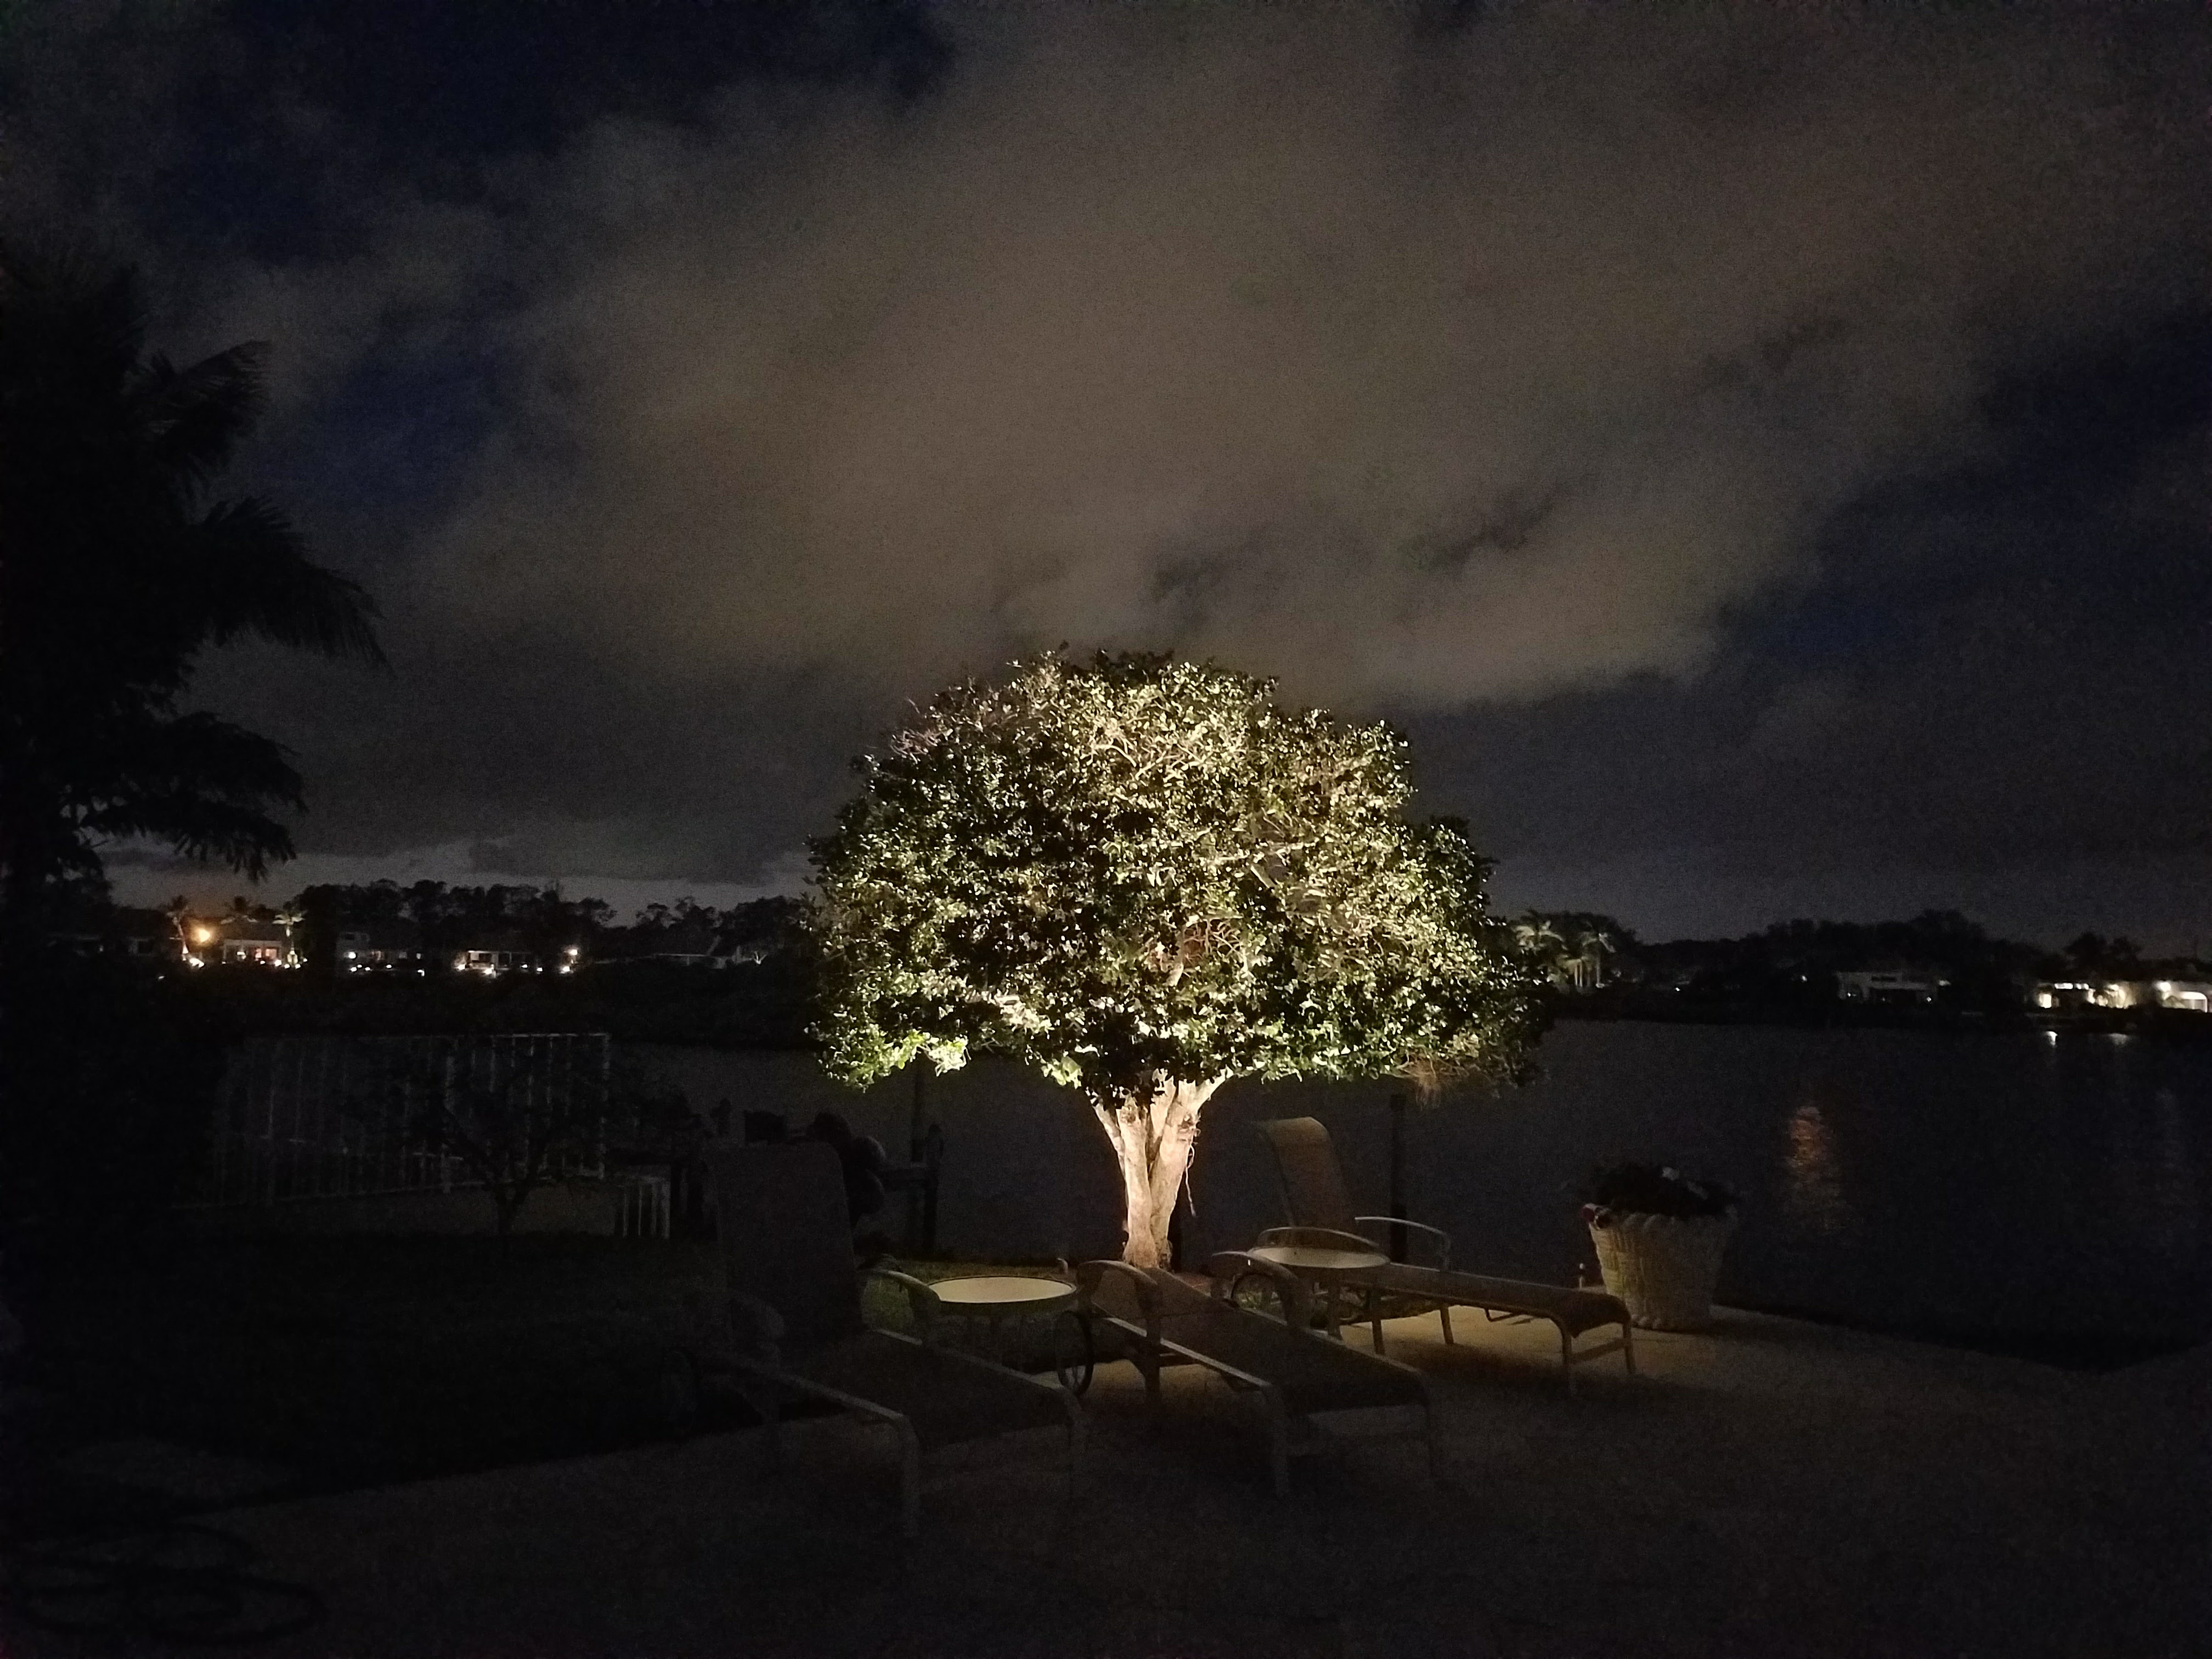
People often create a moonlighting effect using tree-mounted lighting like our CAST Classic Tree Lights. Alternatively, you can install lights around the elevated areas near the pool or the soffits of your home or pool house.

The key to a great moonlight effect is ensuring the lights are not too bright or harsh. Proper lighting placement will create even and consistent lighting.

Moonlighting adds life to your pool and deck. It can create the perfect atmosphere for a romantic or cozy summer evening with friends and family.

2. Directional Lights for Structures & Greenery

The swimming pool isn’t the only focus that’ll create a great summertime experience, and it certainly shouldn’t be the homeowner’s only investment. Make sure to also show off gorgeous plant life, flower beds, and treescapes with traditional above-ground directional lights for expert uplighting.
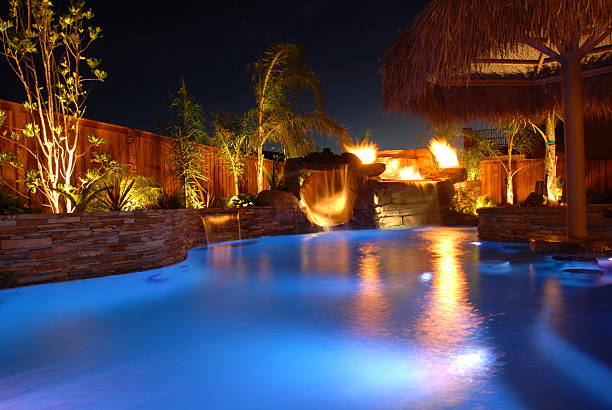
Structures such as a cabana, pergola, or outdoor kitchen area are equally as important. To really enhance that relaxing resort-like experience, show off these amazing assets and architectural features by illuminating them at night with uplights and soft wash lights. It’ll also make the space far more useful in the evenings.

3. Deck Lighting

If you have kids or like hosting regular get-togethers over the summer, there’s a strong likelihood that your pool sees a lot of activity and foot traffic. One way to avoid damaging a light fixture—or worse, having an injured guest—is through deck lighting.

Besides the practical illumination, deck lighting also creates an aesthetic appeal to your pool area.
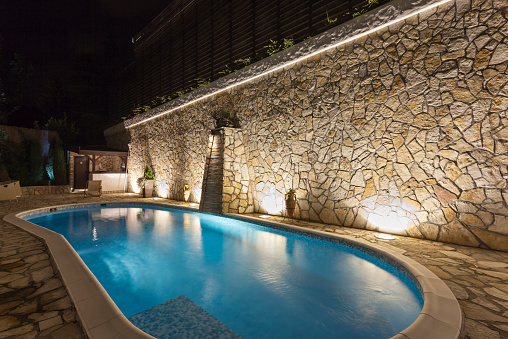
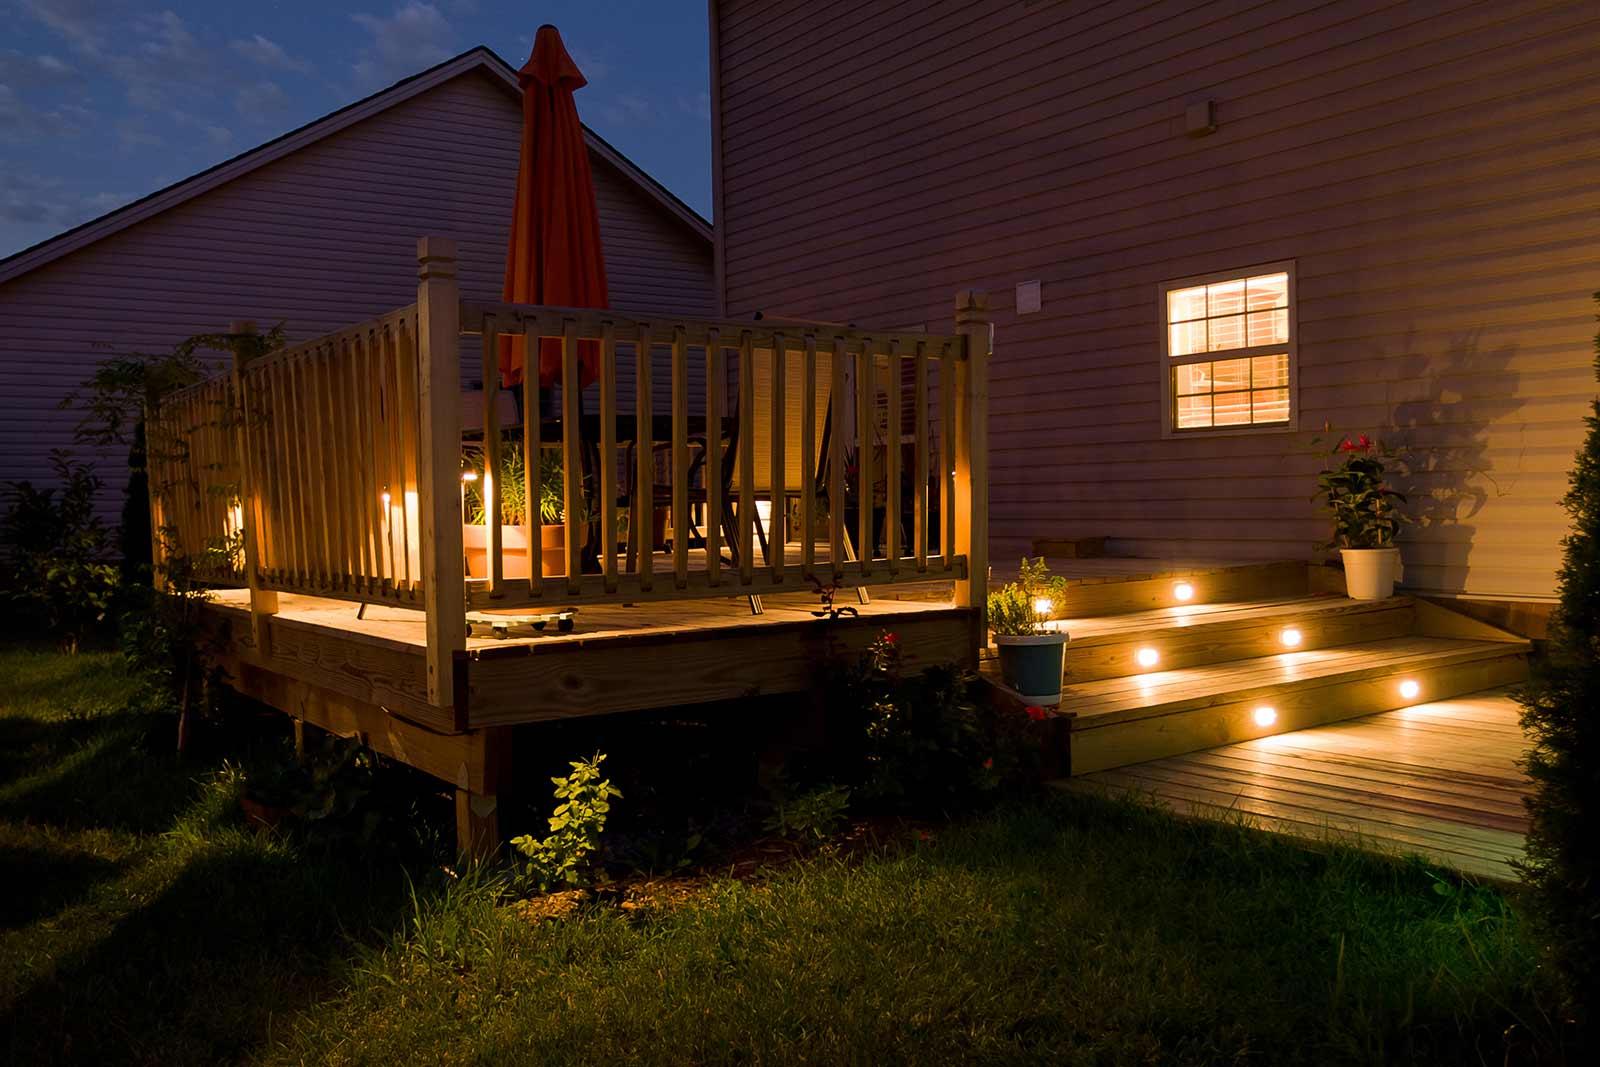
There are various options to light up your deck, like post lighting, where you install pool lights on top of deck posts and railing posts. You can also use in-ground lights, like our recessed mini narrow spot-up lights, to illuminate your decking.

When selecting lights, you need to choose appropriate light fixtures that can withstand outdoor elements, especially water, considering they will be installed around the pool. Some of the best materials for outdoor pool deck lighting include bronze, brass, and stainless steel.

4. Water Features

Water features deserve their own landscape lighting strategy and design.
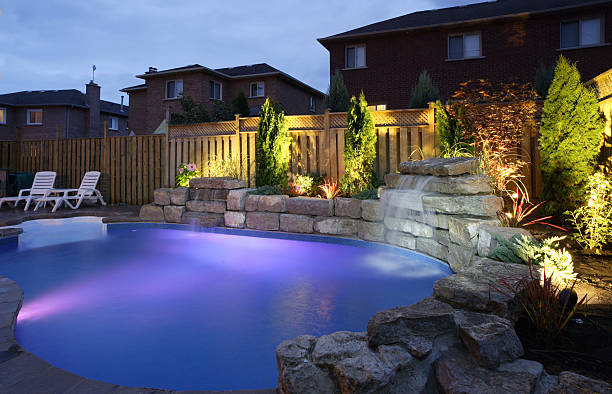
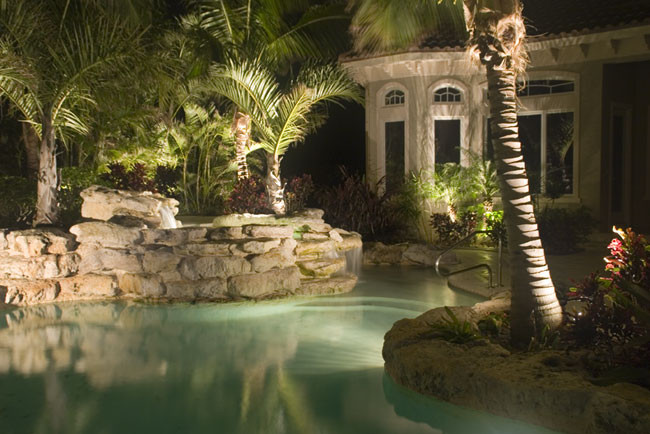
Waterfalls, for instance, are magnificent and serene in their own right, and lighting them at night only adds to their majesty and peace. Consider backlighting from underneath the cascade, showcasing the water’s playful dancing and shimmering.

Alternatively, a wash light at the pool’s edge or a nearby tree could spill across the waterfall evenly for a calming atmosphere. To add drama and liveliness, position the lights where the waterfall breaks the pool’s surface, emphasizing movement and the splashing bubbles.

5. Wall Lights

Remember the cardinal rule: Pool goers—and anyone in an outdoor living space—should see the effect of the light, not the power source. Walls lights are excellent for carrying out this rule.
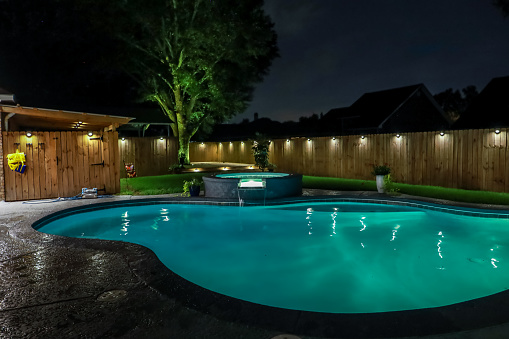
The small and subtle wall lights are designed to be hidden—an afterthought—casting light downward onto a more interesting aspect of the landscape design and the textured hardscape it’s attached to.

You can install the wall lights throughout your pool’s hardscapes, their textured walls, sitting walls, fire pits and fire pit benches, and more. This way, you will provide safety and convenience for people using the pool at night and highlight architectural features to help create a great ambiance.

Another popular option for pool wall lighting is uplighting. You can use fixtures like our CAST Craftsman Wash Light to illuminate architectural features and plants and trees.

Ultimately, the type of light fixtures and placement of wall lights you choose should match the look and feel you want to achieve. By selecting the right fixtures and considering the size and type of pool, you will create an inviting and beautiful pool space, perfect for outdoor entertaining in the summer.

6. Lighting Zones, Dimmers, & Mood

Pool area lighting should make use of dimmers—specifically around the hot tubs and poolside dining areas. Think pergolas, cabanas, and lux lounge areas with firepits.
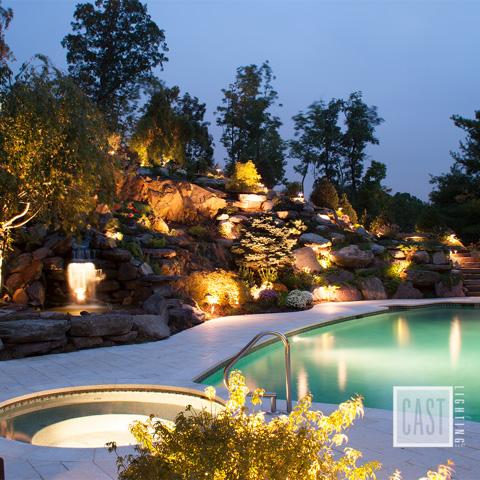
The concept of separate lighting zones should also be applied since it allows you to create certain tasks or moods. This is an especially important element when aiming for a usable outdoor and recreation space around the pool.

Separate lighting zones also give you control of certain outdoor spaces. For example, you can turn lights on or off and dim them as needed while the rest of the landscape, such as the home, remains permanently lit on a timer.

Optional zones, where dimming should be available, include intimate areas like a hot tub which need low and soft light to create a romantic or relaxed mood. Functional areas like an outdoor kitchen need a bright light that makes it easy to see when grilling and entertaining. Dimming control is the key to creating that perfect poolside atmosphere.

7. Glare

A relaxing evening by the pool can be dampened if there’s an annoying white light glare coming off the water or anywhere else that can impair your eyesight and result in an accident. As anti-glare experts, we’ll be the first to tell you lighting a pool area is all about safety and comfort. This can be achieved with glare-free LED light bulbs.

To prevent glare from and around the pool, remember that people should see the effect of a light, not the source itself. This can be executed in a few different ways. One popular solution is to hide the fixtures in the plant life so that only the effect of the light is seen and appreciated.

Another idea is to focus on key landscape design elements using the appropriate lighting techniques. All aspects of your outdoor lighting design should work together to brighten the area properly. For instance, if you have a textured wall around a side of your pool deck, you can use a directional light that crossfades up it. Essentially, the trick is not to accidentally shine light into the water, which creates glare.

We recommend getting a pro installer from CAST to ensure safety and glare prevention in this potentially dangerous recreational area.

Here’s to Summer!

Here’s to making your pool-going experience a splash hit this summer! And with these seven pool lighting ideas, there’s no doubt it will be. Just remember lighting a pool and the surrounding area is about maximizing safety, usability, and comfort.

The right lighting will highlight your prized landscape features and create a luxurious resort-like outdoor experience. With the right ambiance, you’ll know it’s time to kick your feet up—poolside—and enjoy all the work you put into making this summer in your backyard the best one yet.
 

23 Jun 2023

5 Great Ways to Light Your Outdoor Steps

(Originally posted on www.cast-lighting.com)
Lighting your outdoor steps can make the difference between an ordinary and extraordinary result. It helps to highlight the natural beauty of your outdoor walking areas. Through lighting, you can create a warm ambiance for everyone to enjoy after dark.

Whether you’ve got steps to the back, side, or front of your property, the correct outdoor lights have a big impact. This guide covers five great ways to light your outdoor steps so that your home looks modern and stylish.

But before we discuss the best ways to light your outdoor steps, let’s touch on why outdoor lighting matters and whether or not it’ll work for you.

Why Outdoor Lighting Matters

We often advise that when you’re ready to take your property to the next level with landscape lighting, or even just toying with the idea, start small. Dip your toes by selecting one area of importance to light rather than the whole nine yards. This tends to be the backyard to add a level of security by warding off possible intruders.

A very close second is illuminating areas and features that may be difficult or hazardous to navigate without outdoor lighting, such as pathways, stairways, and steps. This adds a needed element of safety, allowing people to navigate a property more easily.

Adding light to your balcony staircase, a patio doorstep, or beautifully hardscaped steps to a pool or entertaining area eliminates the danger and potential injury. Outdoor lighting also adds a beautification factor that can set a mood and truly make a home stand out while adding value to the property.

Does Landscape Lighting Work for Me?

Maybe you like the idea of adding landscape lighting, but you don’t think there is room or it can’t be retrofitted into your landscape and hardscape design. This shouldn’t deter you in the slightest. Landscape lighting is all about creativity and problem-solving.

A lot of the time, landscape lighting is added after the fact to existing structures and landscapes that weren’t necessarily designed with outdoor lighting in mind. Post lights, downlights or moonlights, and core lights are all fixtures used for outdoor step lighting that are invaluable to every landscape lighting system.

With all that said, now you are asking, “How do I choose which lighting fixture or technique is best for my application?” The short answer is not the simplest one. It all depends on how you are using the space where the steps or stairs are located. And, what effect are you trying to achieve beyond creating a safer environment?

This is where chatting with a professional comes in handy—especially if you’re unsure of which lighting technique you want to use, which effect would look best, and what would be most effective overall.

Here’s a quick summary of five outdoor step lighting to consider:

1. Path Lighting

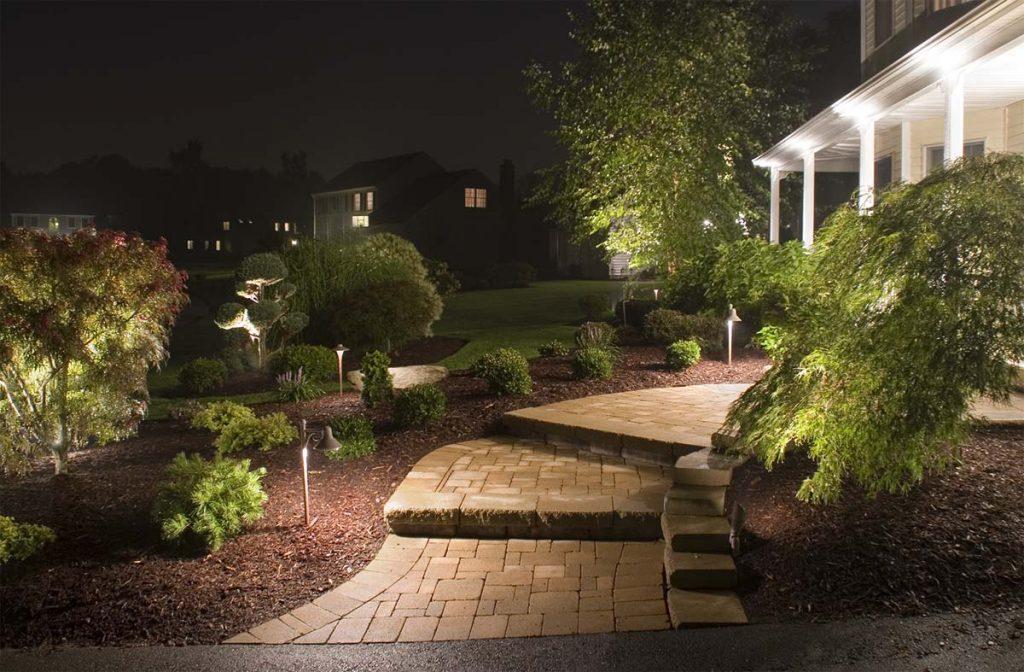
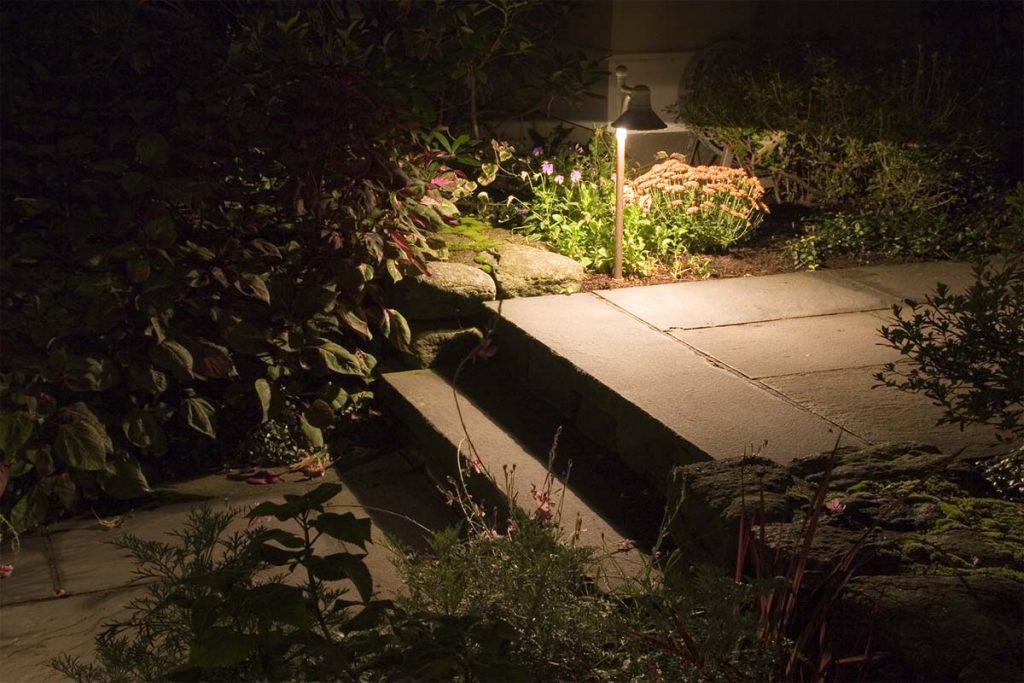
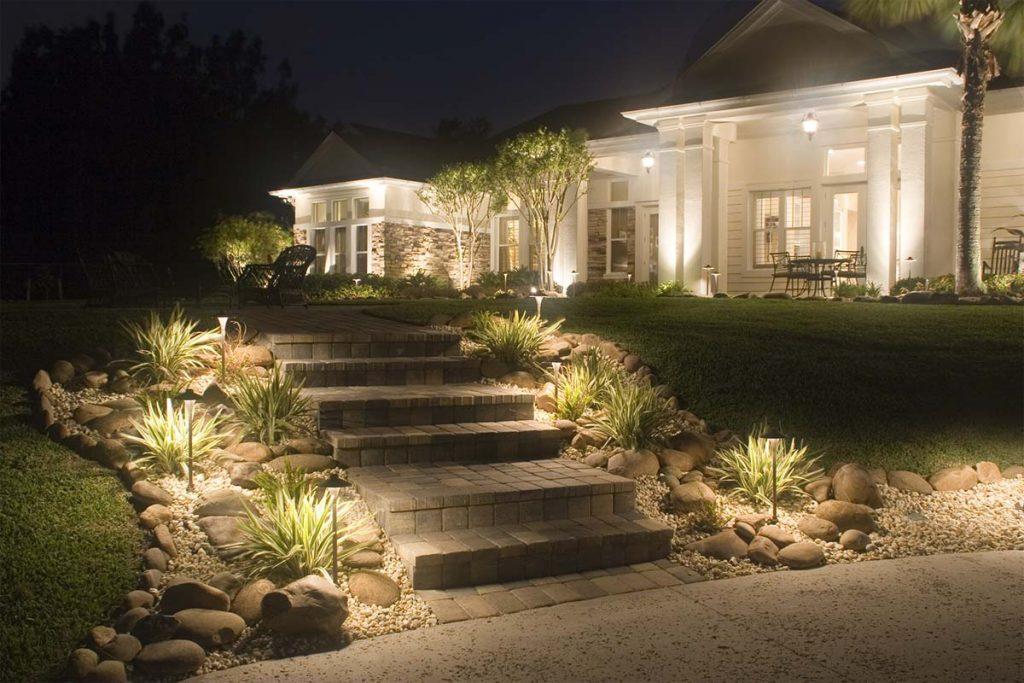
A lot of the time step lighting is accomplished not by adding lights to the actual steps themselves, but alongside them. This is otherwise known as path lighting—after all, an outdoor stairway is a form of a path!

Path lighting is a basic landscape lighting technique that uses path or area lights. Oftentimes, the purpose of path lighting is to light planting beds and paths to provide a seamless transition between lighting scenes for both safety and cohesion.

One recommendation is to alternate the placement of path light fixtures from one side of the step to the other to light the path evenly and attractively. The goal is to provide enough illumination to prevent tripping hazards, but also to space fixtures far enough apart to create distinct pools of light so your eye naturally moves through the space. Lighting both sides of each step, on the other hand, is not aesthetically pleasing and feels unnatural when walking along a path.

2. Downlighting, Moonlighting

Another way to light steps or stairs is downlighting. Moonlighting is used to dapple your steps with a soft moon-like lighting effect. You can use moonlighting on your staircase and other outdoor areas.

Moonlighting uses tree lights to provide soft natural lighting over large areas. Moonlighting serves as an ideal transition connecting different lighting scenes and eliminating black holes from the project, again, providing safety and cohesion.

To accomplish the downlighting effect, the fixtures emitting a soft wash light must be mounted high up in a tree. Fixtures should be placed at least 25 feet high—at least two lights per tree—and directed down onto the stairway. For your safety, we recommend getting a professional to install your lights.

3. Hardscape Lighting

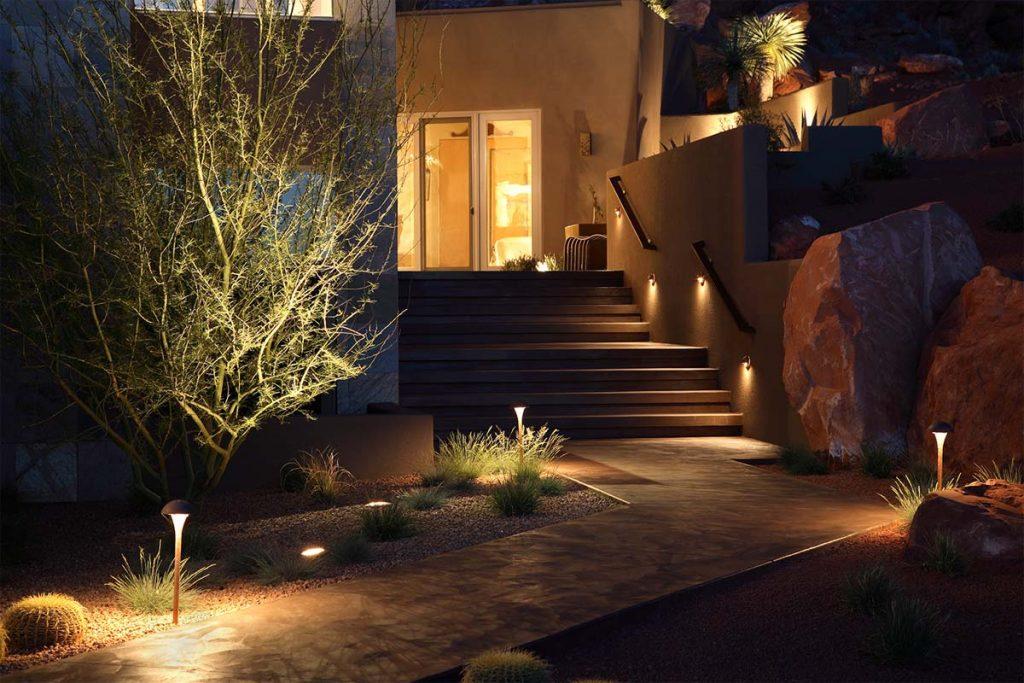
Hardscape lighting uses low-profile lighting that adds dimension to tight areas, like steps and stairways. Using engineered wall lights, within stones, or a hardscape, those areas can be lit safely and evenly using hardscape lighting.

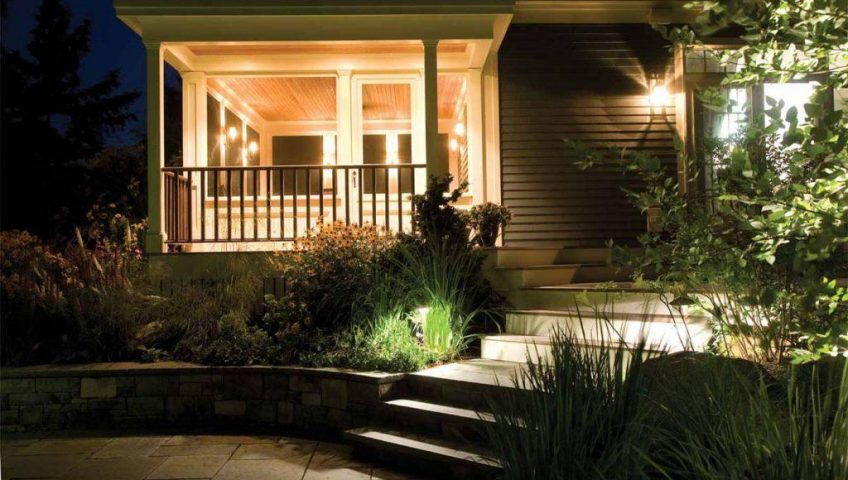
This is a lovely and sophisticated way to light outdoor steps while highlighting thoughtful hardscape design. Either the walls on both sides of a stairway or the stairs themselves can be lit with hardscape lighting.

4. Post Rail Lighting

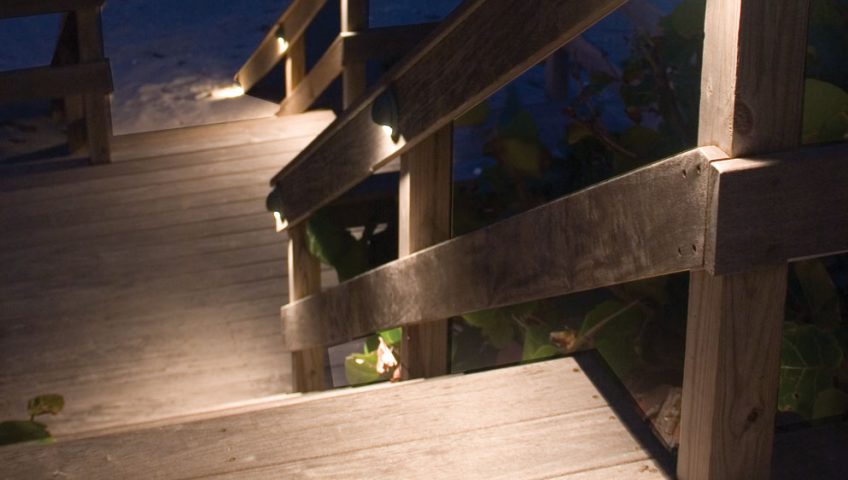
Post rail lights mount onto a post of the railing of a stairway, effectively illuminating the path beneath them. The lights built into a post direct light downward to illuminate where you walk, without shining in your eyes.

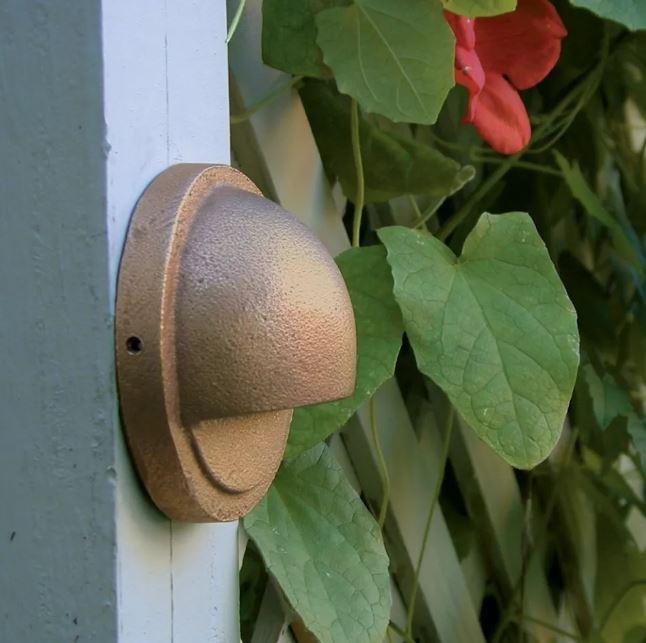
One type of post-rail light fixture that CAST offers is a deck light, like our CAST Classic Savannah Deck Lights, which serves the same purpose and blends nicely with a wooden or metal railing.

Be forewarned, though, installation and electrical wiring of post-rail fixtures can get complicated. If the drilling and fishing aren’t done properly, it could result in a permanent and unsightly mistake, such as a hole drilled in the wrong spot. Thus, we recommend working with a professional on this kind of lighting project.

5. Tread Lighting

Tread lighting is a type of stair lighting that uses step lights, strip lights, or slim hardscape lights. These strips of light fit right into the vertical face of each step. They create a washing effect with a gentle, even glow that gives it the illusion that it is floating. This is a dazzling and unique light effect that offers a customized look enjoyed by many.

Tread lighting casts light down onto the step directly beneath it. This provides a soft light that illuminates the steps. It’s advisable to hire a professional light fitter to install tread lighting as they can be difficult to install.

The #1 Takeaway of All 5 Outdoor Step Lighting Options 

We briefly touched on this top takeaway in our post-rail lighting section—and that’s the consideration that all five of the above lighting installs require precision and technical prowess.

Our #1 takeaway here is to make sure to consult a professional landscape lighting designer before trying your hand at this outdoor step lighting. It’s critical to select the right fixture and lighting effect to safely and beautifully illuminate your steps. And, to take it one step further, it’s just as important to wire and mount the fixtures at the proper height and beam angle—then test and tweak the lights at night—to ensure a successful lighting project.

Good luck, have fun, and enjoy the results!

22 Aug 2016

Sea Turtle Protection – The CAST Lighting Approach

(Originally posted on www.cast-lighting.com)

Addressing the Unique Lighting needs of Beachfront Properties near Turtle Habitats

All species of sea turtles are recognized as either endangered or threatened. One of the threats to these amphibians is artificial lighting in beachfront areas. When hatchlings emerge from their nests they may be attracted to lights and fail to seek safety in the water.

For this reason, regions such as Florida and the Caribbean enforce restrictions on lighting in beachfront properties. These restrictions are set by municipalities and are based primarily on two documents - The Model Lighting Ordinance for Marine Turtle Protection and the Florida Wildlife Lighting Criteria.

Details about these documents and their provisions, as well as specific guidance in using CAST Lighting fixtures to meet them, are contained in a white paper. (Click Here!)

22 Aug 2016

What Homeowners Need to Know

(Originally posted on cast-lighting.com)

CAST Landscape Lighting System Maintenance - What Homeowners Need to Know

 Should I do it myself?

What needs to be done to maintain the perfomrance of my CAST system?
Landscape lighting systems need to be maintained on a regular basis. Fixtures need to be cleaned and adjusted, plant material needs to be trimmed or removed and lamps (bulbs) need to be replaced. Transformers need to be checked and wires need to be inspected for damage.

Can I do it myslef? Or, should I ask my contractor to do it?
Certainly, homeowners can perform much of their own system maintenance, but there are many reasons why they might rather sign up for a maintenance agreement with their contractors. Here are some factors to consider.

  • Lamp (bulb) Replacement. It's easy to replace lamps in all CAST fixtures, but high-quality long-lasting CAST lamps are only available through CAST Distributors. Each of the lamp types used in CAST fixtures are available in various beam spreads and wattages. It's important for the electrical and design integrity of your system to replace the lamps with the exact type specified by your installer.
  • Lighting Fixture Adjustment. As plant material grows, it will become necessary to re-aim and possibly re-position lighting fixtures. The contractor who designed your system is best able to perfomr these adjustments to ensure adequate and appropriate illumination.
  • Electrical Testing. Part of what your contractor will do is to check voltages and amperages at the fixture and transformers. This ensures that the correct voltage is delivered to every fixture and is critical to maintain optimal lamp life. Your contractor has the tools and skills to do this.
22 Aug 2016

Palm Lighting Particulars

(Originally posted on LandscapeOnline.com)

Palm Lighting Particulars
By Matthew Doyle, assistant editor

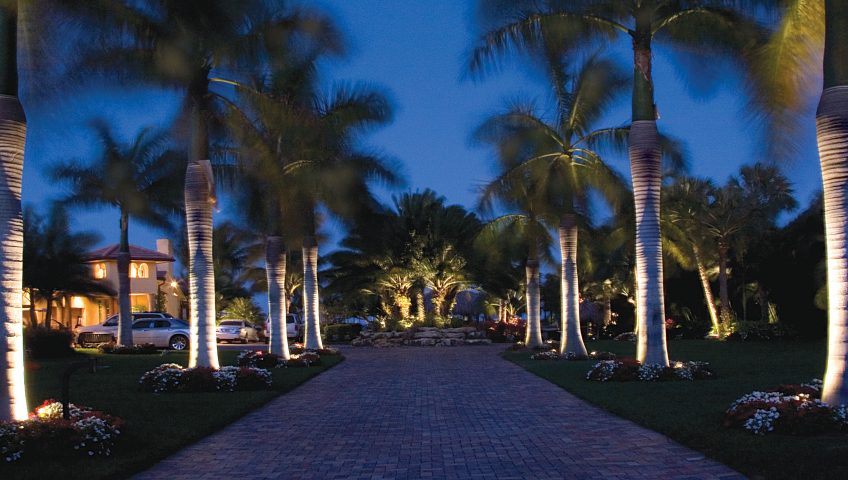
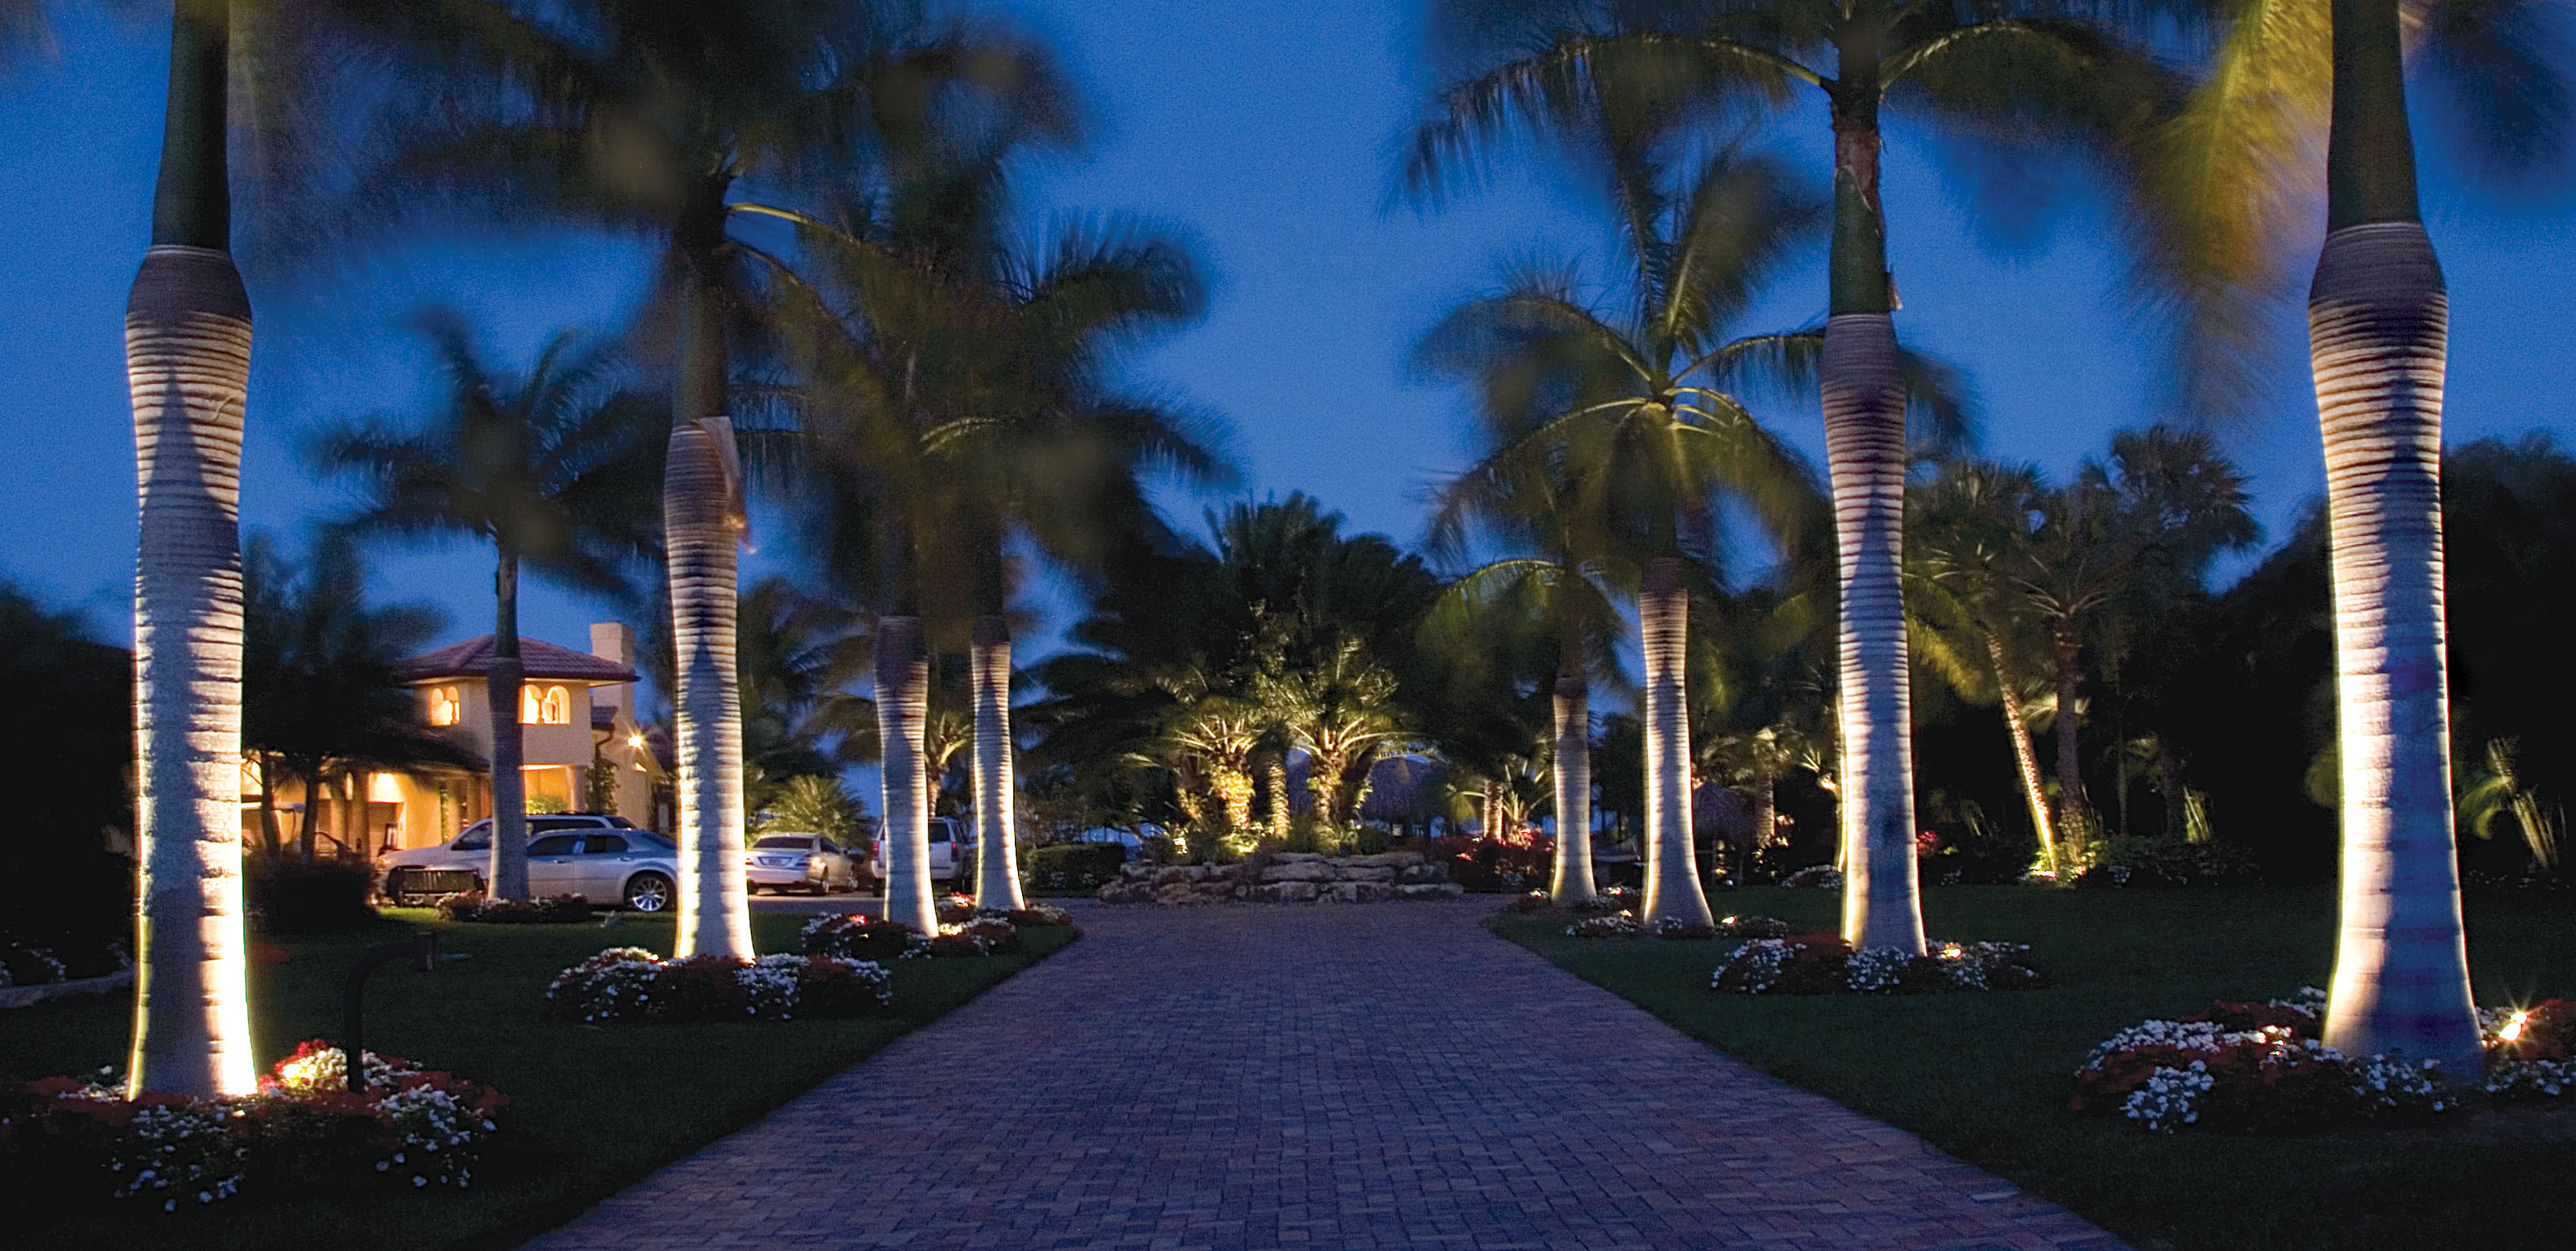
The Royal palms in the foreground are lit with two 35 watt fixtures with 35 degree beam spreads each, while the Reclinata palm in the driveway island is covered by five 20 watt, 60 degree fixtures. The “art deco strip” effect on the Royals requires fixtures placed extremely close to the trunks. As a result, the buried wiring runs perpendicular to the driveway on either side of the palm before turning to parallel the driveway toward the hub connecting it and the neighboring palm. This “L” pathway minimizes entrapment in palm roots.

Teak Wherehouse Blank

Steve Middleton is the owner/operator of Treasure Coast Landscape Lighting, and has been in the industry for six years. He estimates he’s put 6,000 fixtures in the ground in jobs ranging from 10 to 170 fixtures, primarily lighting palm trees. So LCN decided to speak with him regarding the unique installation challenges these trees create.

First off, it’s worth reviewing the lighting goals that guide installation procedures. Obviously, both the trunk and canopy need to be lit. However, several techniques can be used to go beyond simply lighting the tree.

Routing wires along the quickest path possible away from the palm’s root system isn’t the only installation quirk to wiring palms. Another trick recommended by landscape lighting contractor Steve Middleton is to leave additional wiring (if 10 feet is needed, install 15 feet) at the fixture, thereby allowing slack for fixture movement to accommodate later growth. Also, sheathing the wire in conduit protects it from being entangled by roots (no more slack) or cut while hacking fixtures from the root system. All Graphics Courtesy Cast Lighting, Lighting Designs by Steve Middleton of Treasure Coast Landscape Lighting

Trunk

When lighting palms that are either painted or have a smoother trunk, one can create what Middleton describes as an “art deco” stripe bisecting the tree vertically. Particularly on Royal palms, the stripe can end in a distinct point.

This is done by placing lights very close to and on opposite sides of the trunk. Moving the lights away from the tree narrows the stripe, while moving lights closer fattens it. Rotating them around a horizontal plane centered on the trunk shifts the stripe to the left or right on the trunk to adjust for various viewing perspectives.

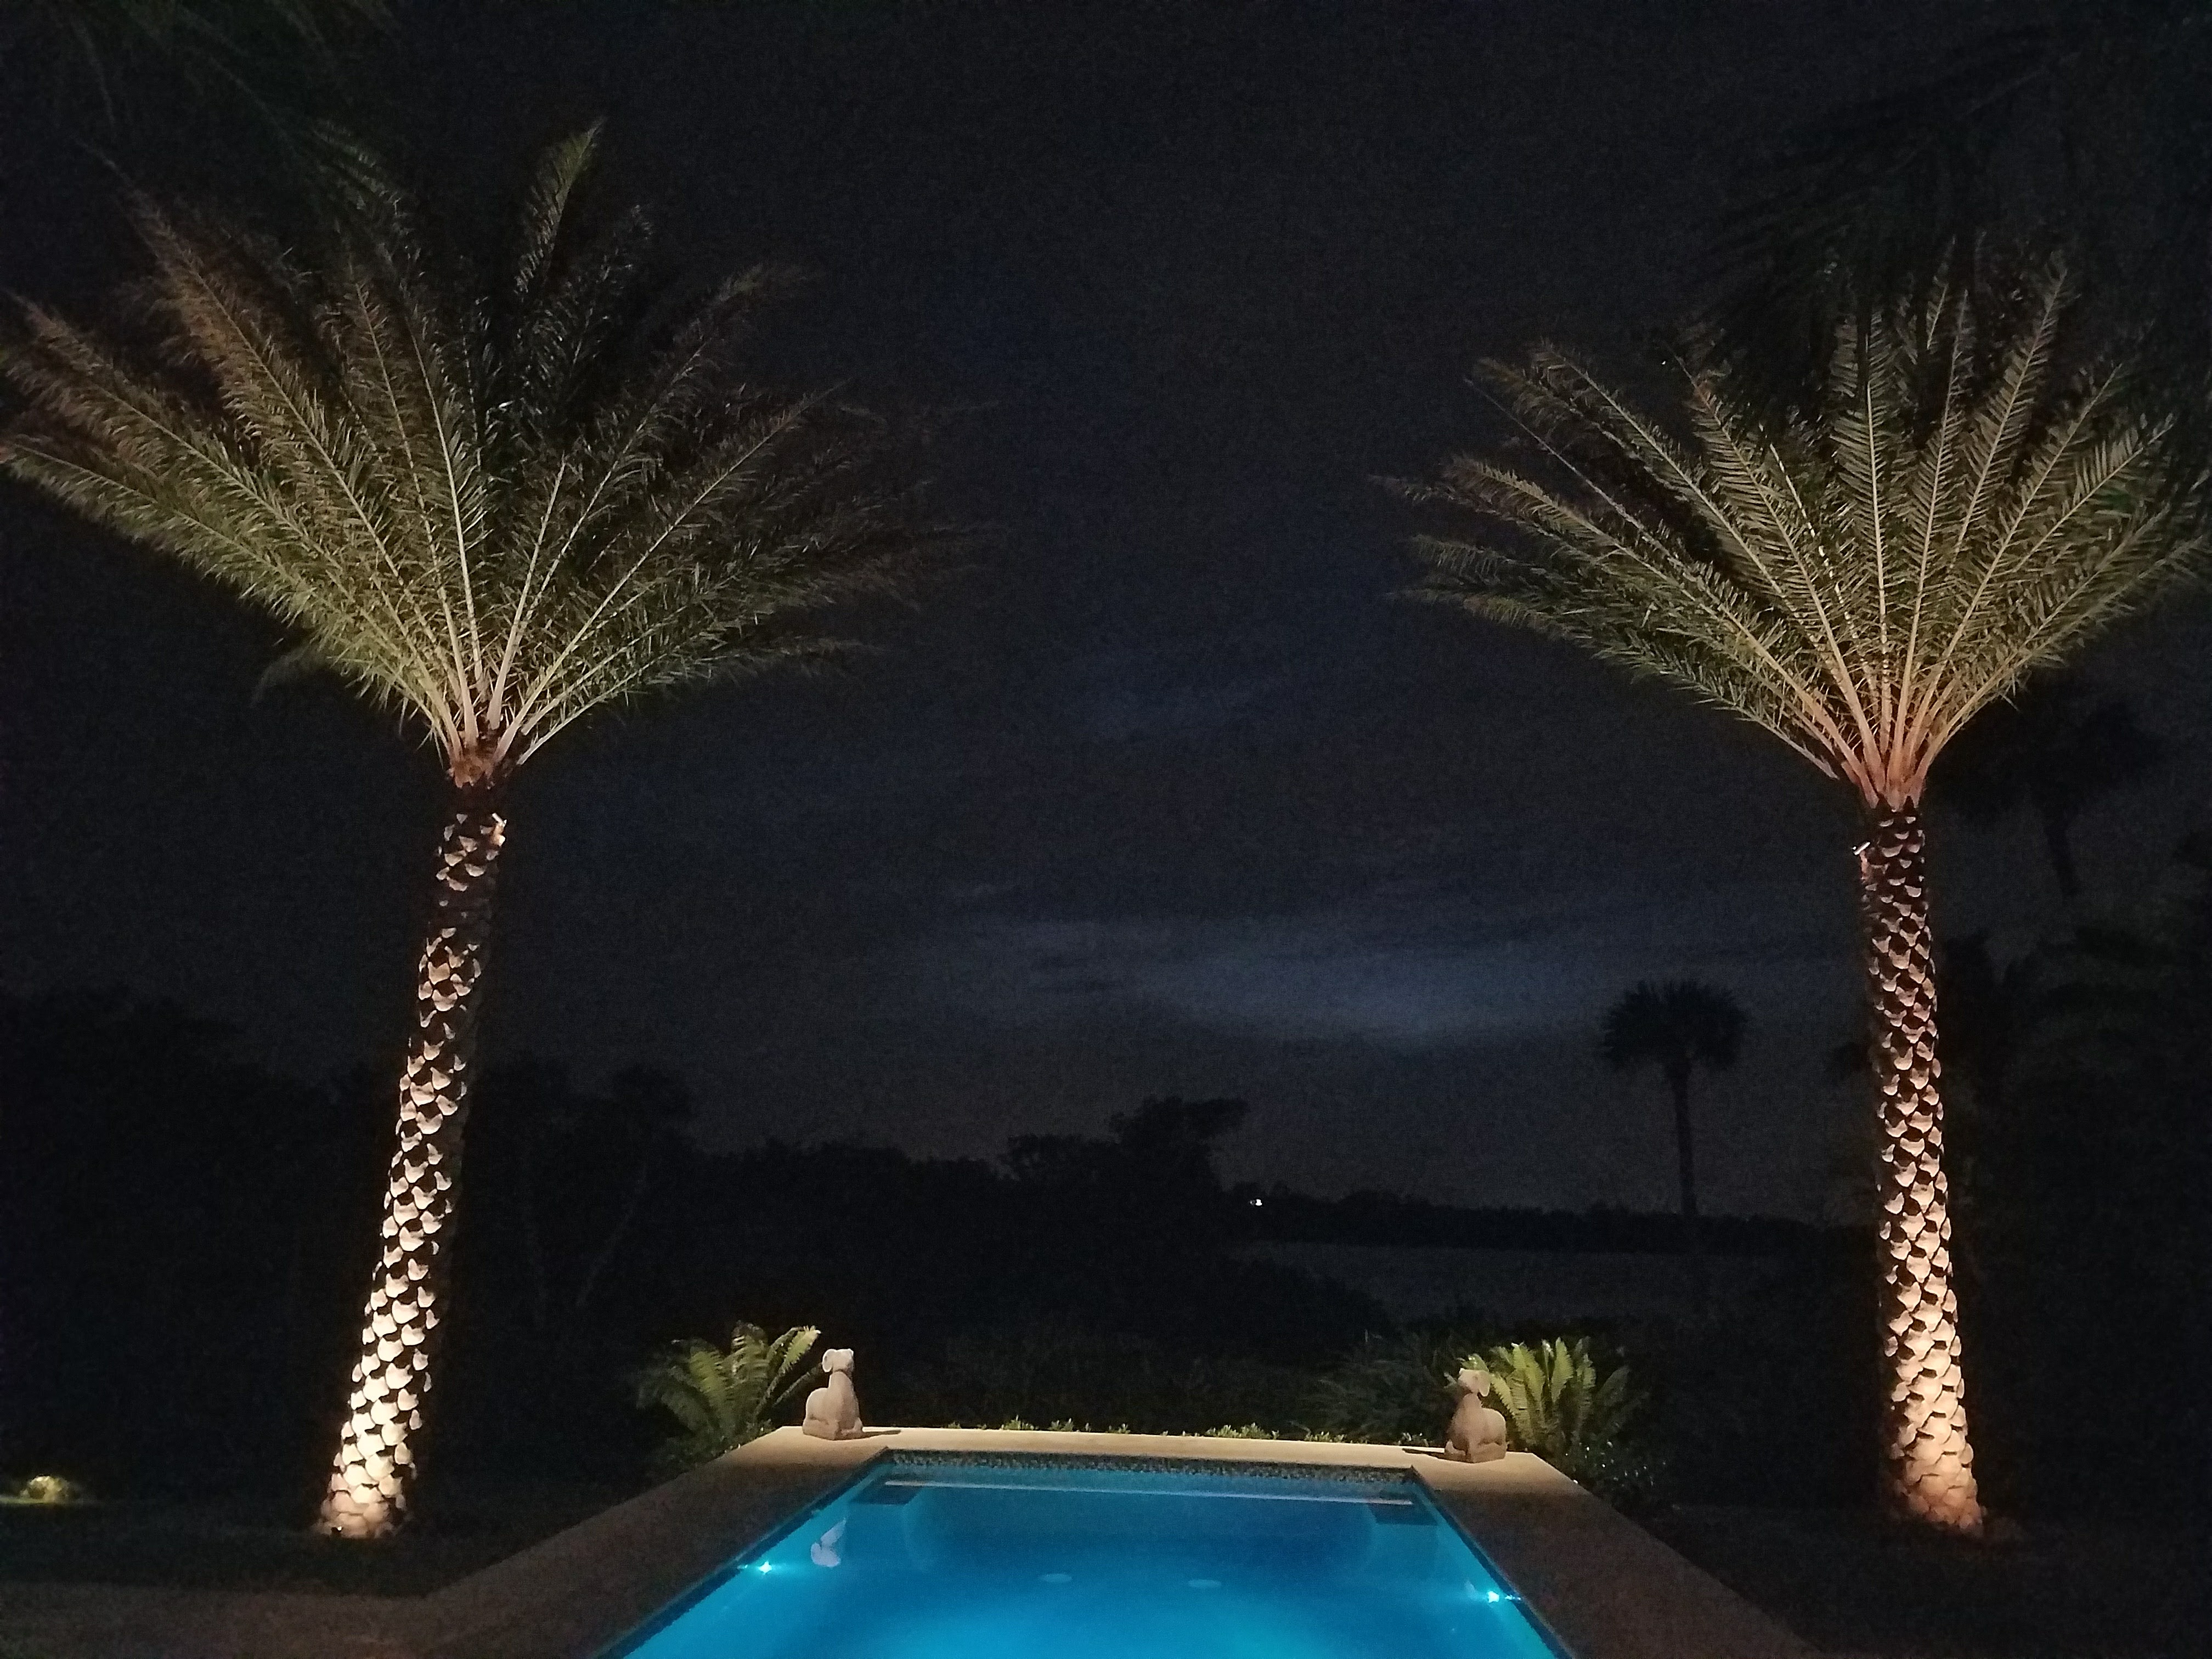
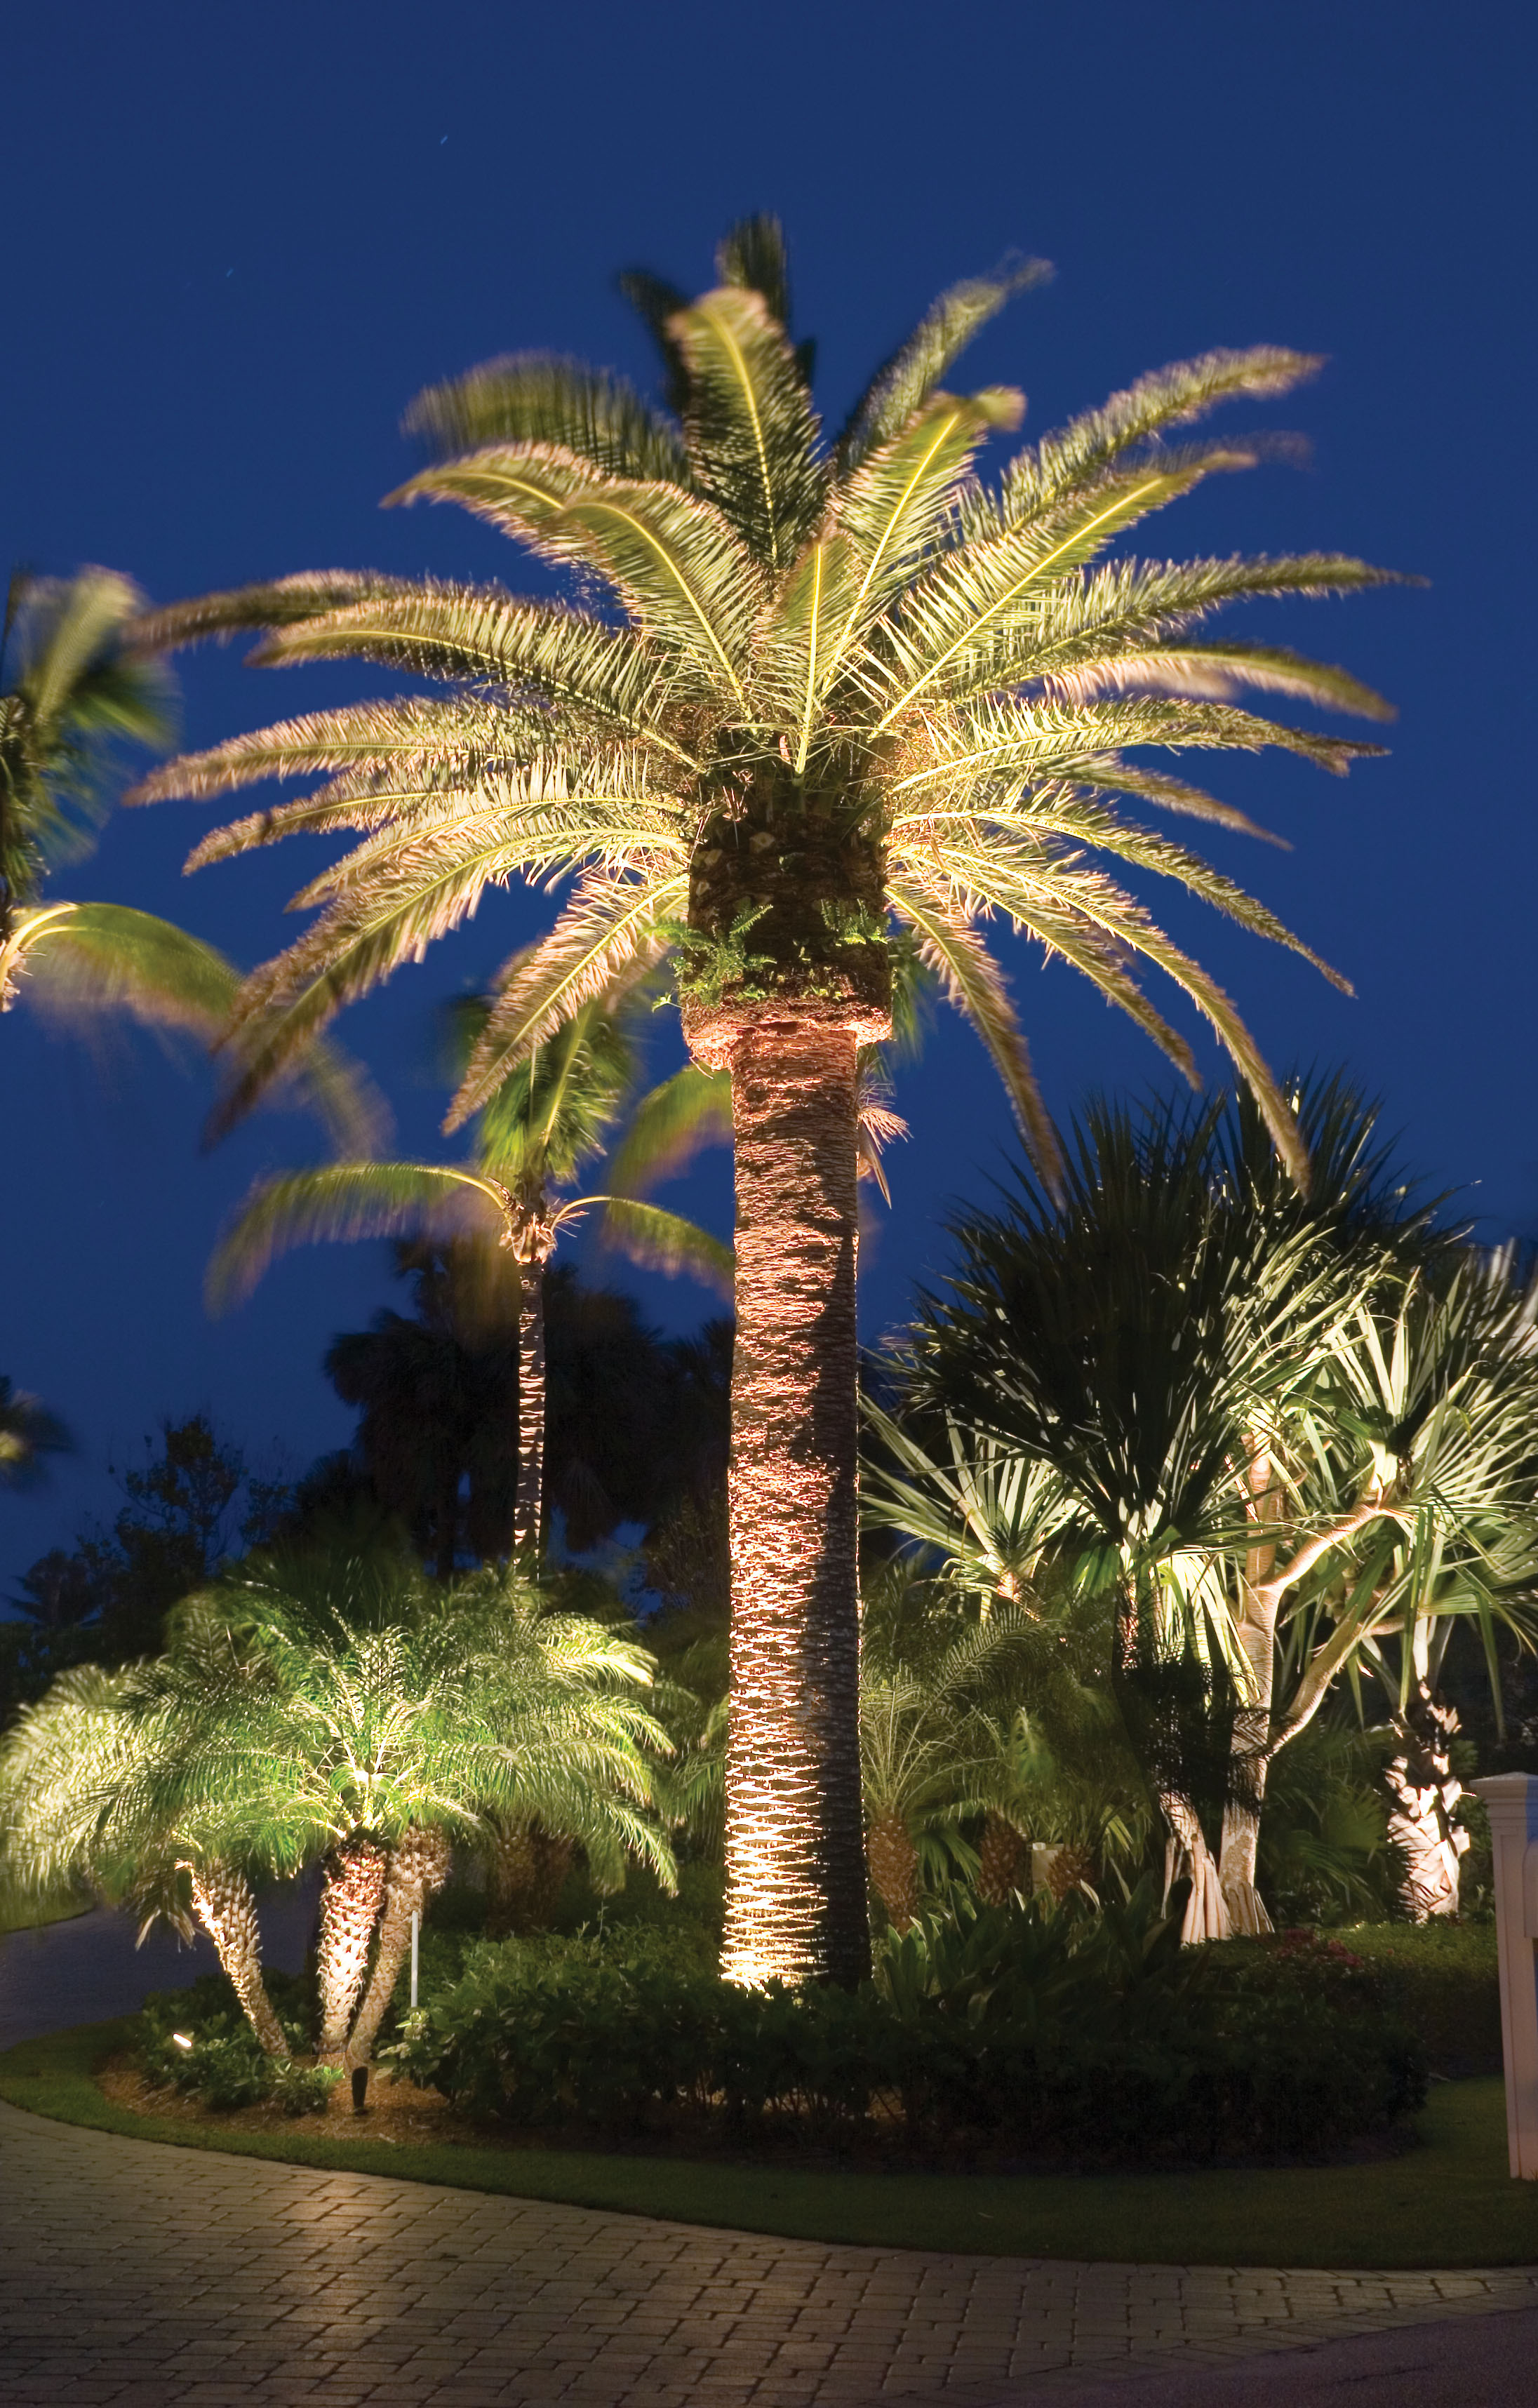
A possible effect on palms with very distinct thatch-work is to use each protrusion to create a small shadow above it. This results in an appealing contrasting light and shadow effect on the palm.

Once again, the key to this effect is to place the fixture very close to the trunk and up light it. Multiple fixtures may be needed depending if the tree is expected to be viewed “in the round” (from a full 360 degrees) or from only one side.


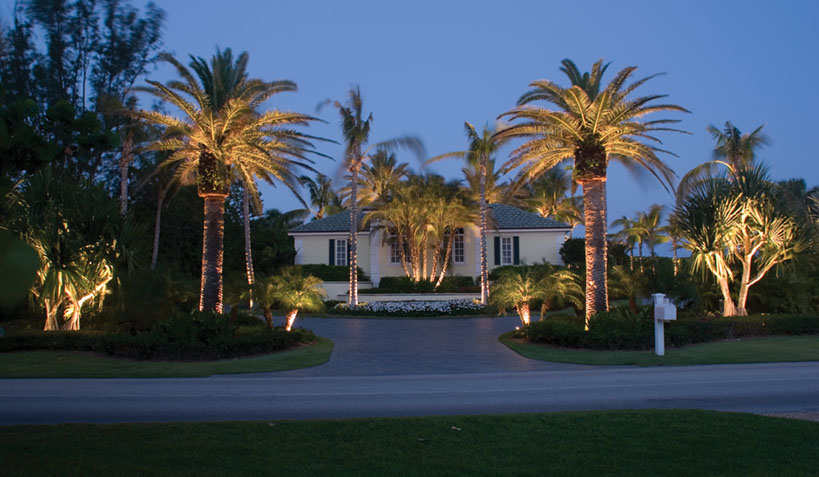
This image demonstrates the challenges inherent in installing the right fixture for various palm species. The Roebelenii palm in the foreground at left received two 20 watt, 60 degree fixtures to account for the short trunk (lower wattage) and wide fronds relative to height (wide beam spread). The Coconut palm behind and to the right received a 50 watt, 24 degree fixture to account for its height (higher wattage) and narrow fronds relative to height (narrow beam spread). The tree in the middle (some variety of date palm according to Middleton) received two 35 watt 36 degree luminaries.


This Bismarckia demonstrates the tremendous growth rate palms can experience, requiring easy maintenance to be a major consideration during installation. Middleton claims four years ago the palm was the size of the Roebelenii seen in the image at right, but it has now grown to a roughly 40 foot tree. As a result, the palm was pushing against the two-year-old, 20-watt, 60-degree fixture and bulb. He recently adjusted and retrofitted this with a 35 watt, 60-degree luminaire.


Palm

Another option when it comes to effects is to light the palm fronds so the lighted side of one blade is visible while nearby blades are turned in such a way that the lighted side is not visible to the viewer. A contrasting light and shadow effect is created here as well. Once again, getting the fixture close to the palm is often the key to pulling this effect off.


Planning for future lighting upgrades during installation extends far beyond how the wires are laid. Installing a larger transformer than what’s needed (within reason) supports future wattage increases to adequately light new growth. However, an even greater priority than the transformer selection is using heavier gauge wire that will allow for future wattage increases. Transformers are much easier to adjust or retrofit than replacing every foot of buried wire.


Installation Challenges

Placing the fixture so close to the palm exacerbates a major installation challenge inherent in palms: their fast growth rates. This creates problems at several points.

Fixture: Placing the fixture so close to the tree puts it within easy reach of the palms root system, which Middleton claims can be “as thick as your thumb and like concrete.” The roots also knit together. As a result, fixtures can be swallowed or moved by the root system. Adjusting the lighting portrait to account for rapid growth can thus become a major challenge.

Wiring: NEC recommendations state wiring should be buried six inches down, and this often (though not always) serves as a basis for local code. However, when attempting to run line to fixtures in the near vicinity of roots, their toughness can make achieving this very difficult. Also, mulching tends to make the roots climb, which effectively means line initially buried at six inches will be drawn even deeper. This makes maintenance access extremely difficult. Middleton advises simply doing the best you can.

Another issue is entanglement in roots, which eliminates the slack needed later to move fixtures to account for growth.

Finally, the need to hack through roots to move fixtures creates a risk of cutting the wiring.


Photometric charts can be an excellent guide for beginning landscape lighting contractors and source of extra precision and further guidance for more experienced individuals. This example relates beam spread angle to resulting beam radii at various heights. In other words, according to this graphic, to cover a palm canopy with a radius of 10 feet at a height of 45 feet, a fixture with a beam spread of 24 degrees would light the canopy end to end.


Meeting Challenges

Fixture: Middleton makes a site visit every year to his installations to replace bulbs and move fixtures as needed to account for palm growth. Not only does this maintain the lighting portrait, it works as a great sales tool. You can point out that you’re planning for the future, looking out for the client in the long run. Finally, it provides an additional source of income, particularly key in today’s economy. However, this maintenance schedule requires planning during installation to make it practical.

Wiring: First off, you’ll need to provide the slack to move fixtures about. If 10 feet is required, then install 15 feet. In Middleton’s case, he uses a 25-foot fixture lead.

Also, make sure you route the wire out of the root zone as quickly as possible. This may mean taking very indirect paths to the nearest hub, but it’s worth avoiding the entanglement and other wiring threats palm roots represent.

Another trick is to install a short length of conduit in the current and future root zone. This prevents entanglement while also protecting it from accidental cutting during any root hacking that may be necessary.

Finally, install a heavier gauge wire then what is initially needed. This way the hardware is in place a couple years down the road when you need to up the wattage to account for increased palm height.

This is another major sales point for several reasons. Once again, you’re planning for the future, thereby acting in the client’s best interest. You’re also doing so at your cost with no guaranteed monetary benefit in the future, as they could select someone else to update the lighting portrait. This encourages your perception as a trustworthy contractor with honest business practices. Not only does this improve your chances of getting the job, but it also increases the likelihood that you will get that future maintenance contract.

Transformer: This is another piece of equipment you’ll want to at least consider installing to reasonably heavier specifications then needed. However, because it’s much easier to retrofit in then heavier wire, it’s less of a priority. Simply look at the cost involved to determine if this is a wise decision or not. It’s more likely to be warranted on a job with ten palms as opposed to fifty.


Once the optimal beam spread has been determined, the next step is to look for a luminaire offering the desired footcandles at a specific height. Adjusting wattage to account for height is key since illumination decreases by the reciprocal of the distance squared. For example, doubling the height results in one-quarter the illumination. This formula can be used to estimate footcandles at heights outside the range of the chart.


Final Tip

Middleton also pointed out the importance of working with other trades if involved during palm installation. In his experience, the trees are often installed so close to buildings it’s impossible to adequately light the canopy without creating a hot spot on the adjacent structure. Working with the palm planters to arrive at the best possible installation for both trades is thus key.